 Earlier this year I stumbled upon Crystal Godfrey's blog, Everyday Food Storage. I enjoyed browsing around, watching some of her videos, and then I joined her 10 Day Challenge. Most of what she shared and taught was not new information to me, but what I appreciated was the little kick in the pants to put into actual practice so many of the tips I've mentally gathered over the years regarding actually using the food I'm storing. Of special importance to me was using more powdered milk (including making evaporated milk and sweetened condensed milk from that powdered milk) and powdered eggs. Those products don't last quite as long as wheat, and if left forgotten will spoil, and result in a big waste of money. I'm not into that. I saw that Crystal had a cookbook, so in the spring, I bought a copy and read it.
 I tried several recipes with success, and I love the accountability that her cookbook provides, with write-in pages committing you to actually practice what you're learning. I set a goal to try each section (Wheat, Powdered Milk, Powdered Eggs, Beans, Fruits and Vegetables). The Beans section particularly interested me because I've read for years and years and years how beans can be substituted for butter or oil in baked goods. I love me some butter, and I don't shy away from it, as I believe it contributes to health, however, I don't know if you've noticed, but butter costs a lot more than beans do, and beans also contribute to health. I wanted to see how things tasted with this substitution because it's very important to my peace of mind to know that under any circumstance, come what may, I can still make cookies.
The thing with bean substitution is that you just use the color of beans that matches your end product. My sister uses black beans in brownies, for example (that's coming up for me!), so since I decided to start with white beans, I was making light-colored baked goods.
I set my goals, right in the book, as directed: (though I ended up changing the oatmeal raisin cookies for oatmeal chocolate chip, because, well, duh.) Oh, and the Chili got bumped to tomorrow night because I had to harvest tomatoes.
 I opened up a bag of white beans and set them to soak.
 After soaking, which though it takes some time, can easily become just a plan-ahead habit, I drained and rinsed them, and then put them back into water to cook.
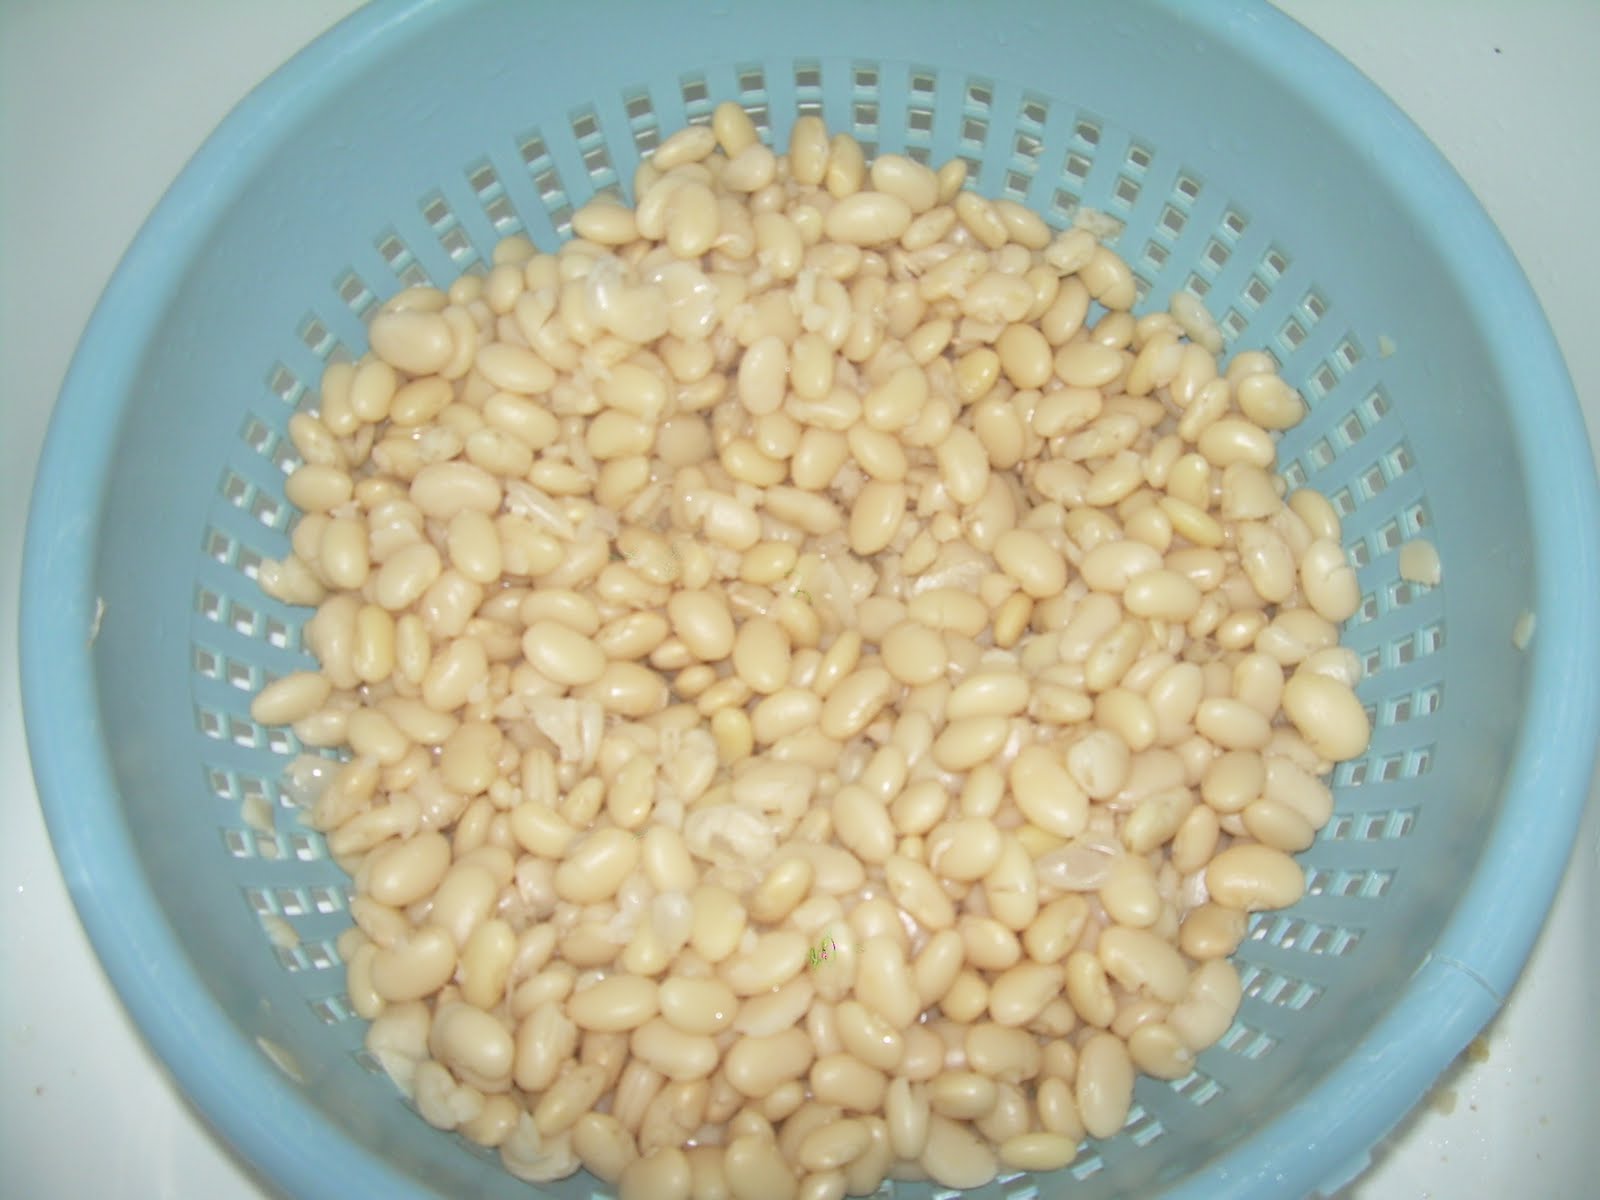 The first recipe I wanted to try was actually not in the cookbook, but in the email newsletter from Crystal's site: Homemade Nutrigrain Bars. I figured it would be an excellent quick grab breakfast for the days I have early morning classes or clinicals and can't eat with the kids, or on days that I'm gone and they need something healthy.
 First step is just like butter. Just mix the beans and sugar, and then continue on with the recipe. I also used powdered eggs in this recipe, and if you do, you do not add the water portion of the eggs because the beans add enough moisture that you don't need to.
 The recipe uses whole wheat flour (which I ground up), oat flour (which I pulsed in the food processor), and suggests almonds (which I also pulsed in the food processor). Half of the dough gets pressed on the bottom of a pan, and then I used some of my homemade strawberry jam for the filling layer, and then the rest of the dough gets pressed on top. Into the oven!
 I let them cool all the way, and then cut the pan into 14 bars. They were easy to cut and kept their shape without too much crumbling. Everyone had one for breakfast with a glass of milk.
 The rest I packed into snack sized Ziplocs and froze them for future breakfast emergencies. I plugged them into a program I use to find that they each have 270 calories, 5g of fiber, and 8g of protein. That's if you cut 14 bars---you could cut yours smaller if you'd like. Paired with a glass of cold milk it's a suitable, and filling breakfast. In fact, I never even felt the usual blood sugar drop around 11am that I usually feel, reminding me to grab a snack. Lots of whole grains, slowly releasing their glucose into the bloodstream. Now, yes, Nutrigrain bars from Kellogg's have less calories, but they also have a lot of unfamiliar ingredients, and they would never in a million years satisfy me for a meal. Nor would I give them to my children as a breakfast. So, there you have it.
  Do you want the recipe? Here it is:
Ingredients:
- 1 cup cooked white beans, drained and rinsed
- 1 cup packed light brown sugar
- 1/2 cup granulated sugar
- 2 large eggs (1/4 c. dry egg powder and NO water)
- 2 cups whole wheat flour
- 1 cup coarse oat flour (take quick oats and pulse in blender until a coarse flour)
- 1 teaspoon cinnamon
- 1 teaspoon salt
- 1/2 teaspoon baking powder (make sure it's fresh!)
- 1½ cups chopped almonds, optional
- 3/4 cup raspberry (or other fruit) jam
Method:
Heat the oven to 350°. Grease a 9"x13" baking pan.
Place the beans and sugars in a large bowl, and cream them until light and fluffy, about 2 minutes. Beat in the eggs (egg powder).
In a small bowl, combine the flours, cinnamon, salt, and baking powder. With the mixer on low speed, gradually add the flour mixture to the sugar mixture, then mix or stir in the almonds.
Use your fingers to press half of the dough into the bottom of the baking pan. (You may need to grease your fingers with non-stick spray to keep the dough from sticking to your fingers.)
Put the jam in a small bowl and loosen it up with a small whisk or a fork (this will make it spread easier). Spread the jam evenly over the dough, leaving about a 1/4-inch border around the edges.
Sprinkle the remaining dough over the jam, all the way to the edges of the pan, and then press on it gently to form the top layer.
Bake until the top is golden and the edges are starting to brown, about 35 to 40 minutes. Cool completely in the pan, and then cut into whatever size bars you like and serve. The bars will keep for at least three or four days at room temperature, or you can freeze them.
 The other recipe I tried was the Reduced-fat Chocolate Chip Cookies from the cookbook. These also used white beans (thus, the reduced-fat), and they turned out deliciously! You do have to spray the cookie sheets when using beans instead of butter. These were yummy, and the batch made 61 cookies for me, most of which I froze for lunch snacks.
 I still have a bowl of cooked white beans in the fridge to finish off my experiments, but I am very encouraged so far, and will definitely continue in the effort to try pinto beans and black beans in recipes. I'll keep you posted!
4 comments:
I probably need to do what you're doing and actually use the dried beans I have instead of opening up a can of them. I think I'll try these nutrigrain bars. Thanks for the recipe. (and the motivation)
I LOVE Crystal's site! We are so stinkin similar it's scary! Haha! Your bars look amazing! I'm going to have to try them now so I can be a big copy cat once again.
Where's my kitchen when I need one?!? You've inspired me to try something new, my dear. I will be making those nutrigrains for sure because my kids DO eat them for breakfast on a quick kind of a day. I'd love to make them healthier/more filling for them. Thanks for the tips! <3
FYI: if you have a pressure canner, you can easily can dried beans for quicker use later!
Post a Comment